
Valance
To add a free valance check the Enable Free Valance checkbox.

Valance patterns are divided into families of similar shapes. Start by selecting the valance family from the top dropdown.
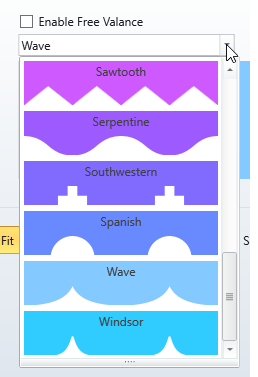
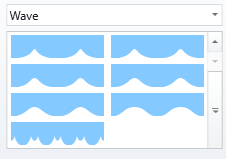
Once you select a valance type, Eclipse will display all of the sub-types in that family in the box below. Click on the sub-type you want to use and you will see it applied to the awning view once a Valance Attachment Detail is selected.
Enter the vertical dimensions you want for the free valance by entering the height for the solid and cutout portions of the valance.

Valances will always be centered on the awning. You choose whether to have the valance meet the awning corners at a High or Low point.

Set the width of the valance cells by selecting either the Scale to Fit. Scale to Size is used to match the front to the side or when using striped fabrics.
Scale To Fit
When you use Scale to Fit, you enter the number of valance cells you want for each section. The width will be calculated automatically.

Scale To Size
Scale to Size allows you to enter the cell width of the valance and is intended for matching valance cells to a striped fabric and/or to make the size of the repeat on the side match the front. For striped fabrics, Eclipse will calculate the actual repeat distance and automatically set the valance cell width to match it.
If you are not using a striped fabric, but want a specific width for each valance, you can set it directly here.
Since the number of cells needed won’t always fill the awning width perfectly, you will need to tell Eclipse what to do at the corners. You can choose to either Trim the pattern or Extend it from the lowest point to the corners.
